Basic Basing
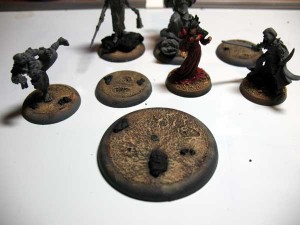
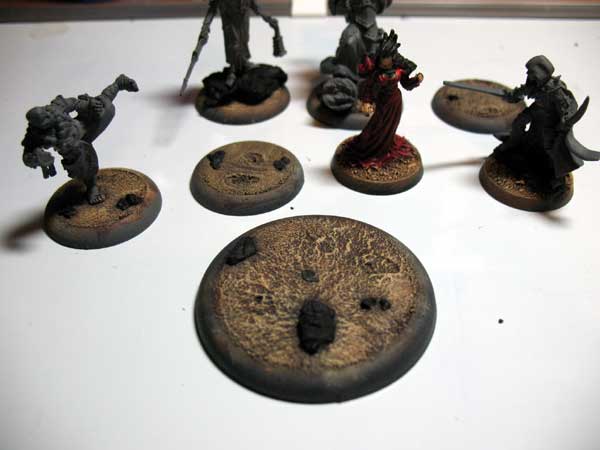
In a previous post I mentioned that I use concrete patch as a basing material. It’s an alternative to sand that’s a rock solid way to model dirt to-scale on a base. It requires a bit more effort than the traditional glue and sand but I think the end result is worth the extra work.

The most difficult aspect of working with the concrete patch is that in order to attach models, you have to clip the pewter tab from the base of the figure, give it a quick filing, and pin it to the base. I’ve always preferred that method anyway, so it’s no big deal. But if you’re used to just gluing and slotting the figure, then switching to concrete patch is going to involve some extra steps.
Usually I’ll glue the pin to the miniature and drill a hole on the base, cover the base in concrete patch, and before it sets, press the miniature down where it’ll ultimately stand, and remove it. Once the concrete patch dries, the indentions left by the miniatures feet will cup them in place securely.
If you want add accessories to a base – things like small rocks, gears, or the like – the patch itself will hold them in place if you press them in before it dries. For the most part this has been all I’ll need to do, but occasionally if a piece is loose I’ll pop it up after the patch dries and glue it back down into the same divot, making it very secure. For tiny rocks made from cork I’ll just put a drop of glue over it while attached, and that is usually sufficient. I prefer superglue over craft glue for these steps.
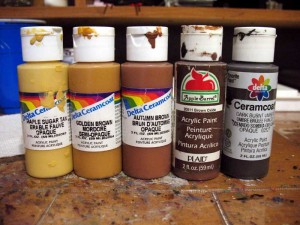
As for painting my bases, I picked up a recipe for craft colors a few years ago that I use for all of my bases. I can’t remember the source anymore, but the combination works great. One note though, before going into painting – make sure you have an extra old brush. Drybrushing over concrete patch will ruin a brush like nothing else.I use craft paints for my bases because frankly there’s no point in wasting expensive model paints on them. Once they’re thinned slightly, they dry brush on adequately for any base and are far cheaper than higher quality alternatives. I purchased a set of 2oz. bottles of paints over two years go just for basing and I still have plenty left.

The recipe is pretty basic. Just lay down a solid layer of Burnt Umber (or Dark Burnt Umber) and drybrush with successive layers of:
- Brown Oxide
- Autmn Brown
- Golden Brown
- Maple Sugar
If I feel I need a final layer of highlights, I’ll add a little Satin Cream to the Maple Sugar for just the lightest of dustings.
You could easily get away with buying less bottles of paint and mixing up midtones, but I don’t think it’s worth the time. Each bottle is less than $1 US, so for $5 you can buy enough shades to be able to work straight from the bottle – no wasting time mixing midtones or trying to match previous results.
After you paint the bare earth, you can add flocking and/or paint whatever additional accessories you’re adding to your base. It’s nothing fancy, but it gets the job done.
